
SEASCAPE PHOTOGRAPHY GUIDE
Seascape photography is a subgenre of landscape photography. As the name suggests, the main component of seascape photography is the sea. Water is the main subject of the photograph which can make or break the image. In this guide, I’ll talk through how I approach my seascape work.
Camera setup
Lens
Lens choice for seascape photography depends on what you want to shoot:
- Wide angle lens: My favourite way to capture seascape as I can get as close as possible to the water action while still fully capturing the scenery around it. My most used lens on my seascape works is Canon EF 16-35 mm f/4L IS
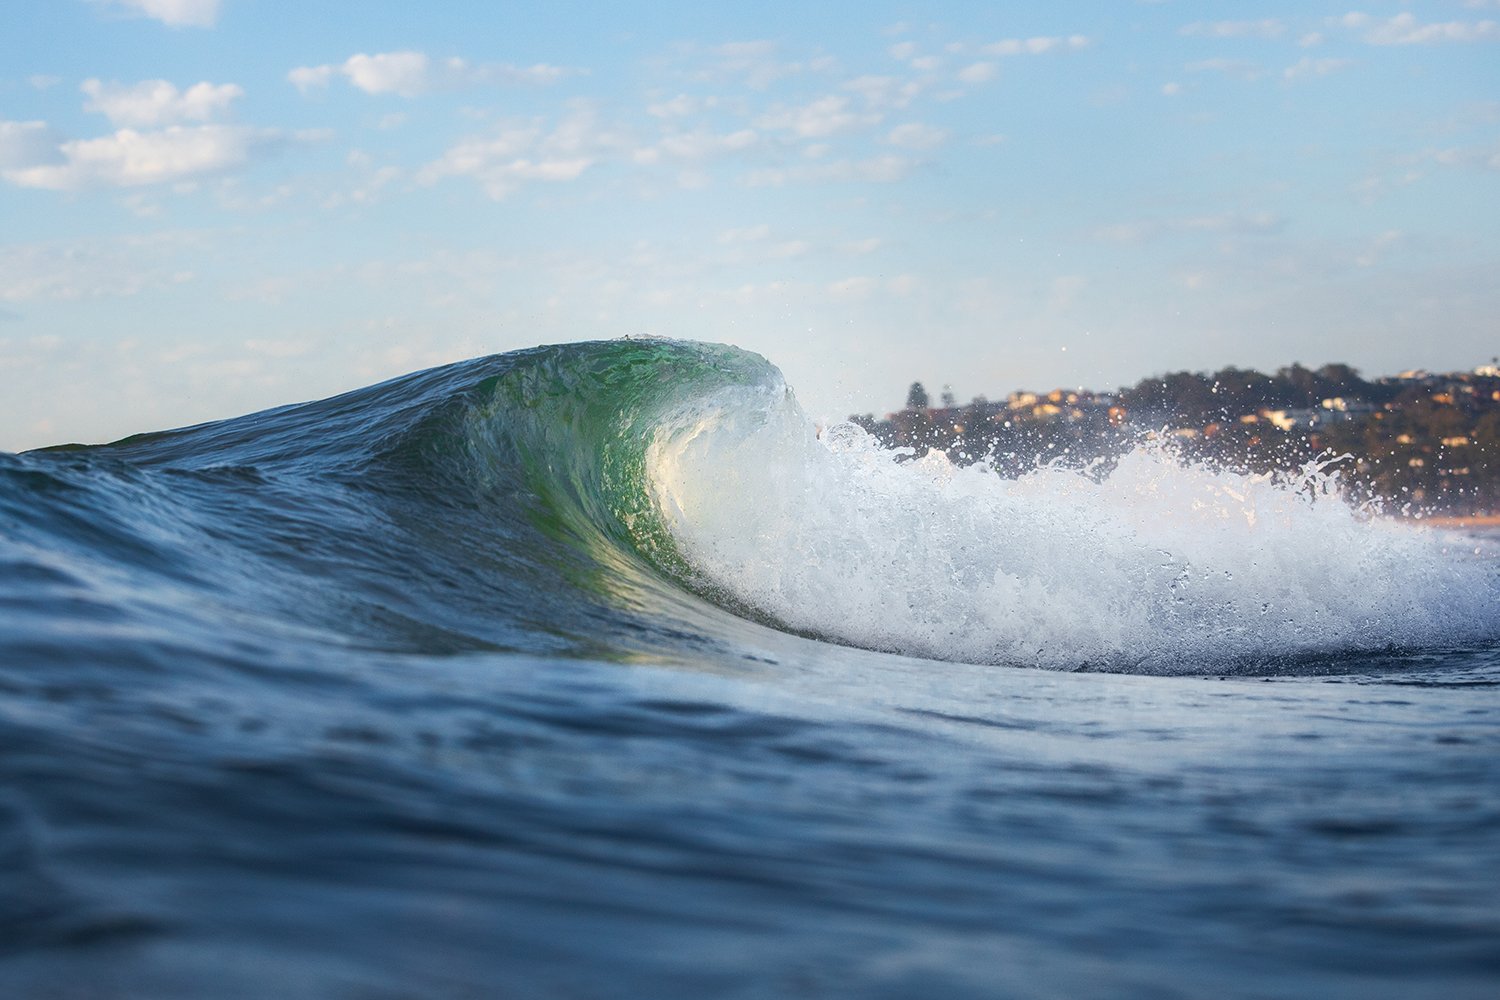
- Telephoto lens: Best to use for wave photography and intimate seascape details. I usually use a telephoto lens during huge swells to capture the wave from the safety of the coastline.
Aperture
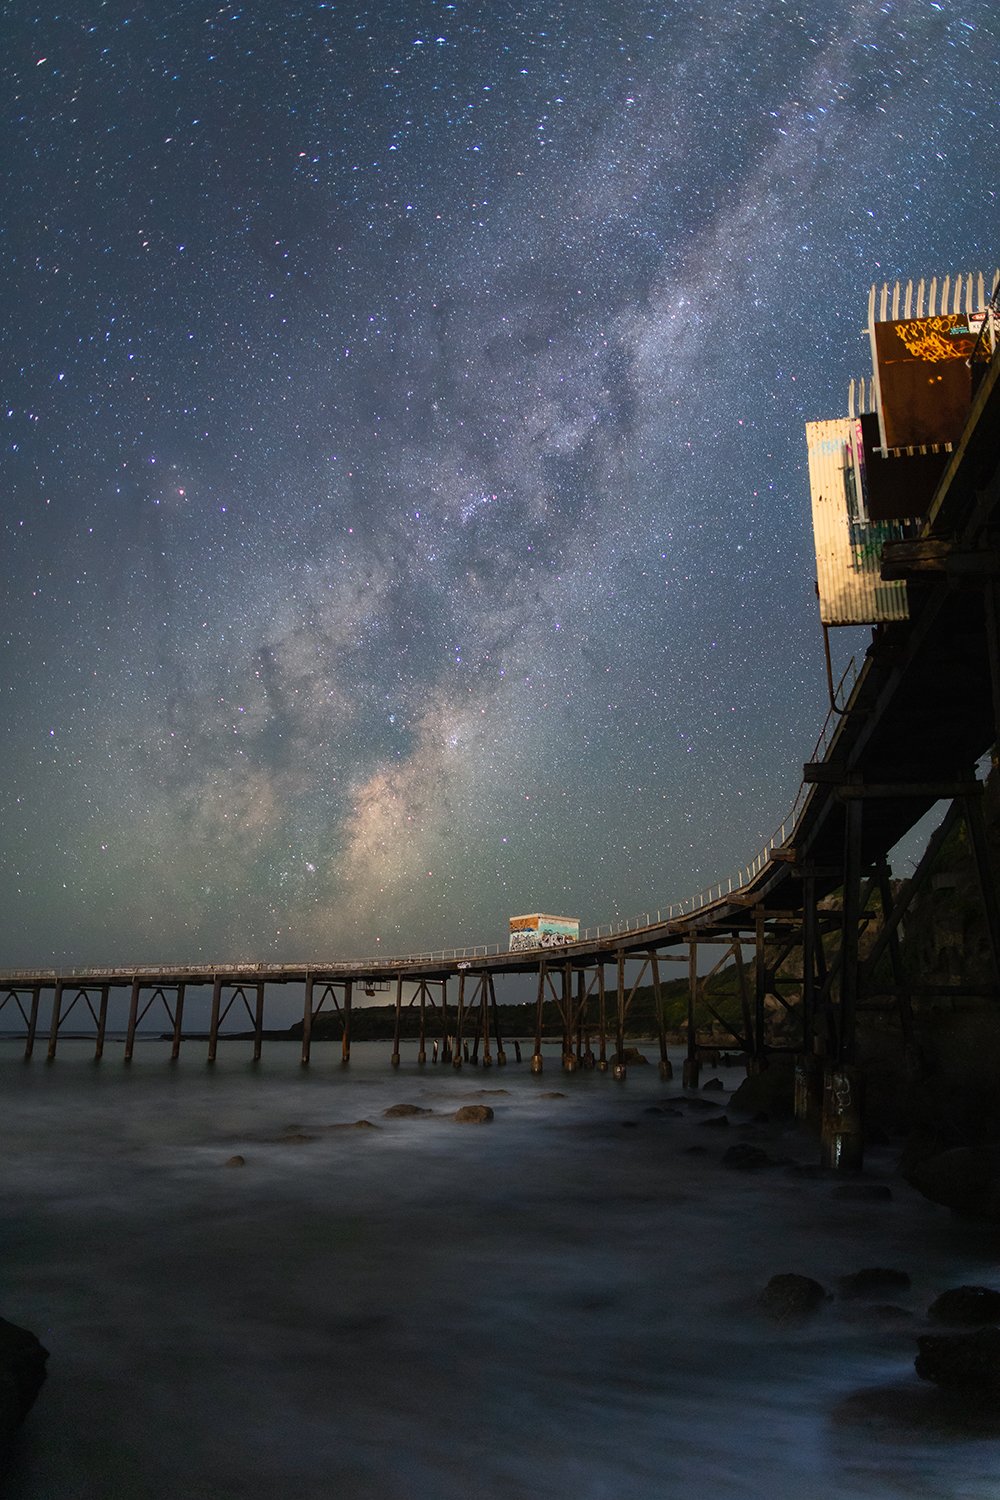
In seascape photography, most scenes require a large depth of field to keep all the elements in focus. I use an aperture of f/8 and smaller to achieve this. The only time I use a large aperture is for night seascape astrophotography.
Shutter speed
Shutter speed is very crucial in seascape photography. How fast your shutter determines the final look of your seascape photography.
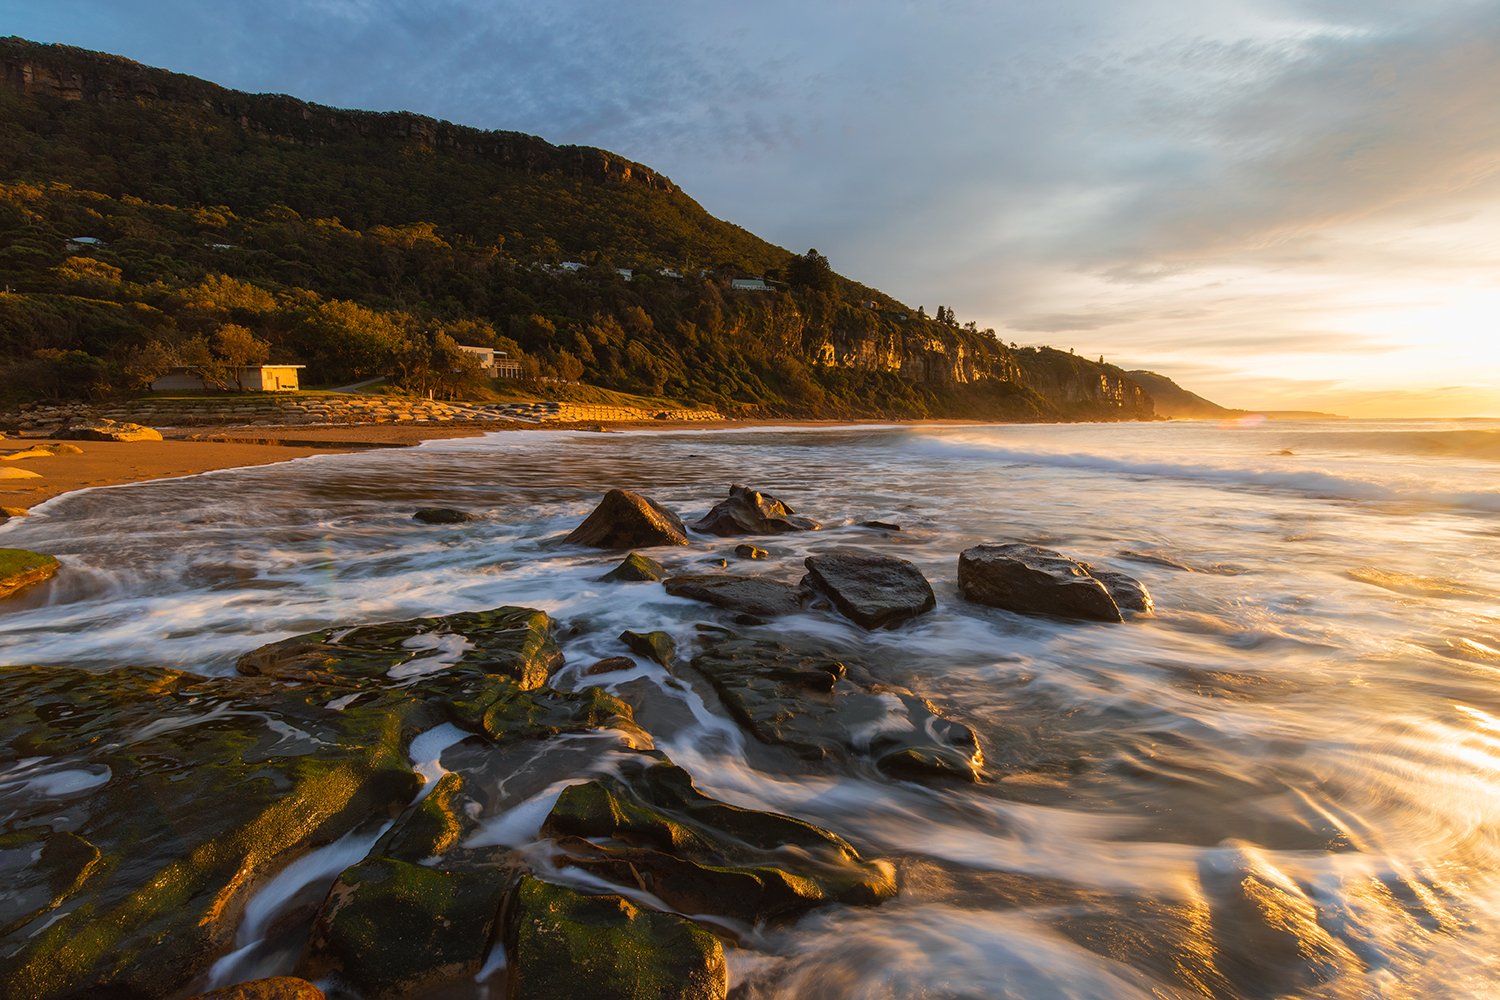
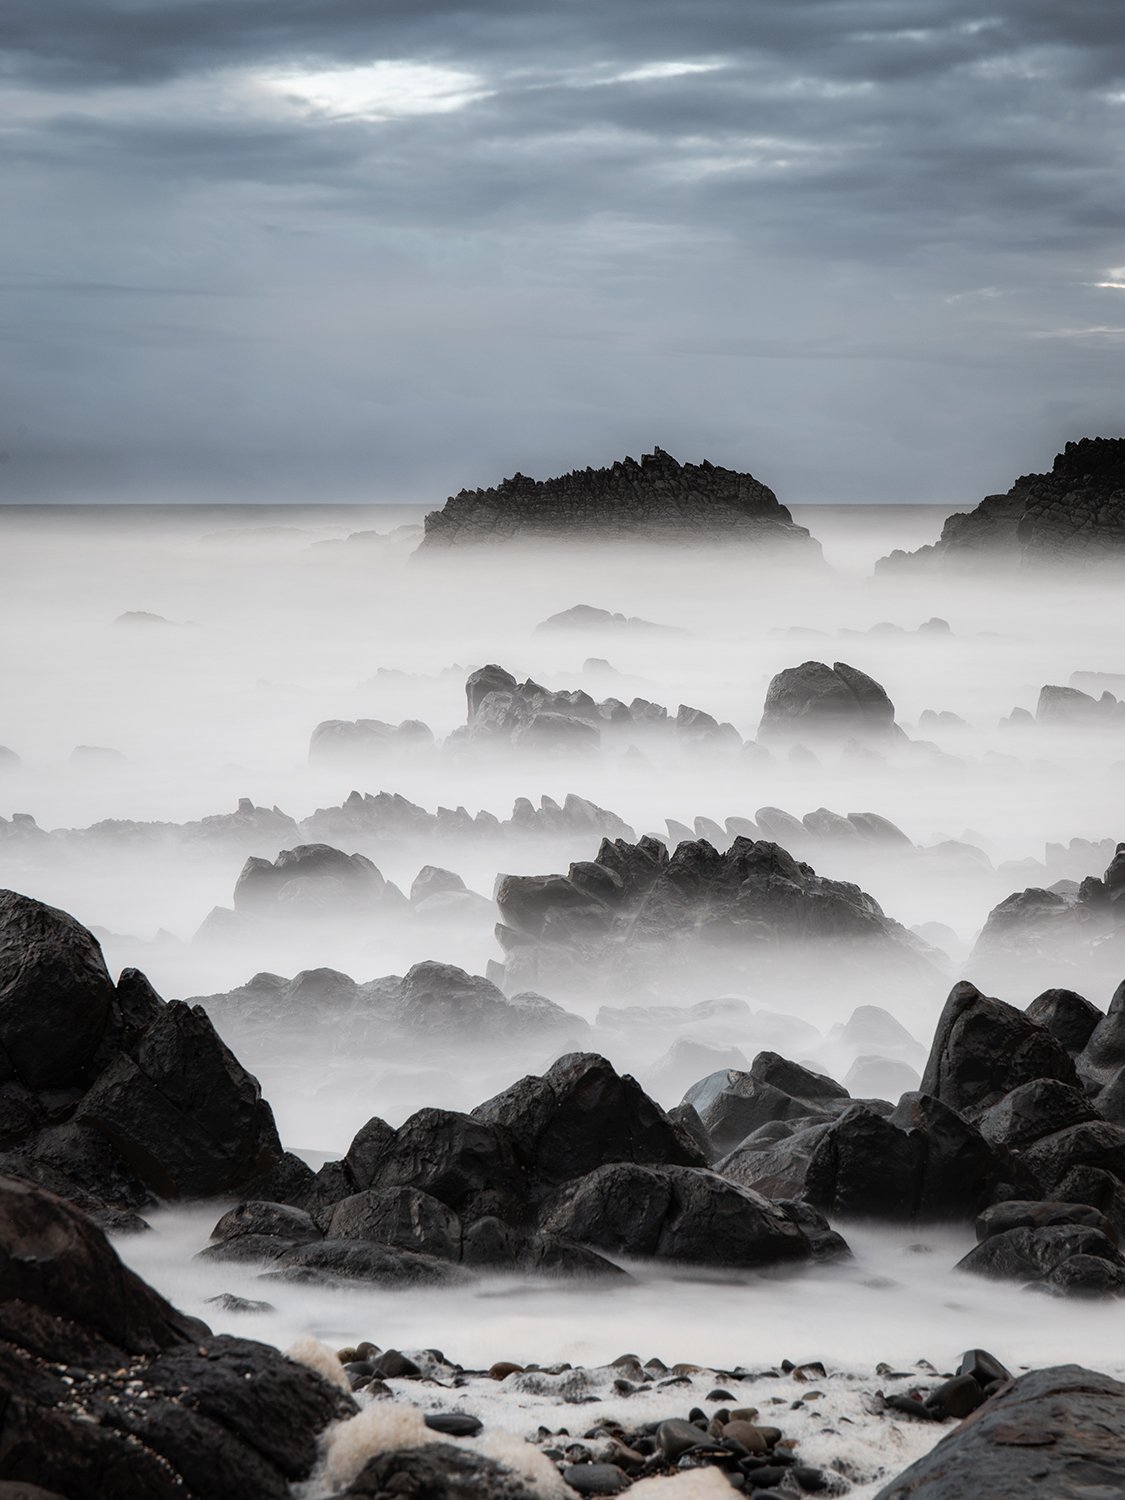
For capturing seascape from the shore, I prefer to use a long exposure to capture the flow of water coming in or out of the scene. The typical shutter for this kind of shot is 1/4 - 2 seconds. Due to this, the use of a sturdy tripod is necessary. A good tripod needs to take a stand against the wave. After every seascape session, it is necessary to wash the tripod to keep it in good condition. My personal preference is to use a tripod with lever locks as this is easier to clean than the twist lock. I use Manfrotto 290 Dual for all my seascape works.
A fast shutter speed is used to capture the shape of the wave, both from the shore or on water. To freeze the wave motion I recommend using a minimum 1/1600 seconds.
Filter
As most seascape needs a long exposure, ND filters are needed to slow down the exposure. I use either 3 stops and 10 stops ND filter. I use 3 stops to create the flowing water and 10 stops for smooth water.

I don’t use a gradient filter as most seascapes involve rock formation which means no clear line between the land and the sky. I found that the gradient filter will create uneven darkness in the picture. I took 2 or 3 exposure and merge them in post-processing instead.
Tide & swell
Behind any great landscape photo, there is extensive planning. Seascape is no different. While light is always an important part of photography, in seascape, tide and swell are the two elements that affect the most.
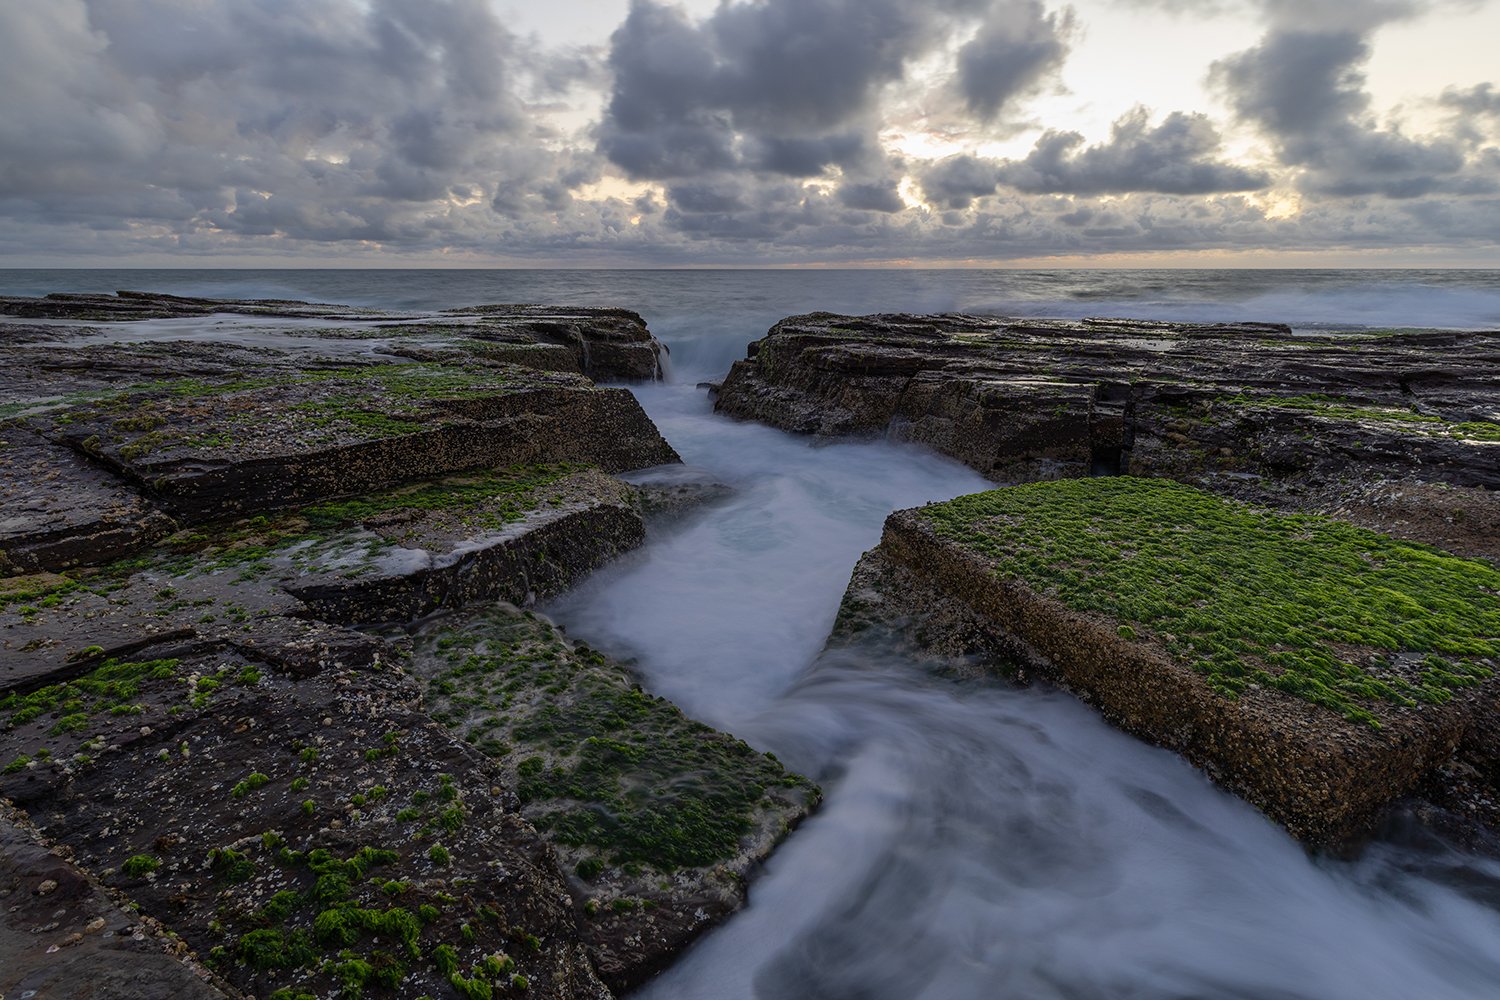
Tide refers to the alternate rising and falling of the sea. The terms high tide, mid tide, and low tide are used a lot when we describe seascape photography locations. In high tide, more land area is covered by water. On the other hand, more land is exposed during low tide. Every seascape location needs a different ‘ideal tide’. Generally, a photo with flowing water was taken in mid to high-tide. However, some seascape locations are only accessible during low tide.
When looking for a new seascape location, I usually go during the mid-tide condition (~ 1.0m). That way, I can get an idea how the location looks like in low and high tide. To check the tide condition in Australia, I use willyweather.
Swell refers to the size of waves. A big swell will carry more water to the shore. Sometimes a relatively big swell is necessary to create the water movement. An example of this is the Narrabeen channel. This location is not easily accessible in high tide but the wave needs to reach the rock formation for the curvy flow. To capture this, I went in mid-tide condition with a reasonable swell.
Severe weather condition like a storm can generate a huge wave. As you can imagine, in those conditions it would be dangerous to be too close to the shore. Same as for tide, I use willyweather to check swell.
Weather
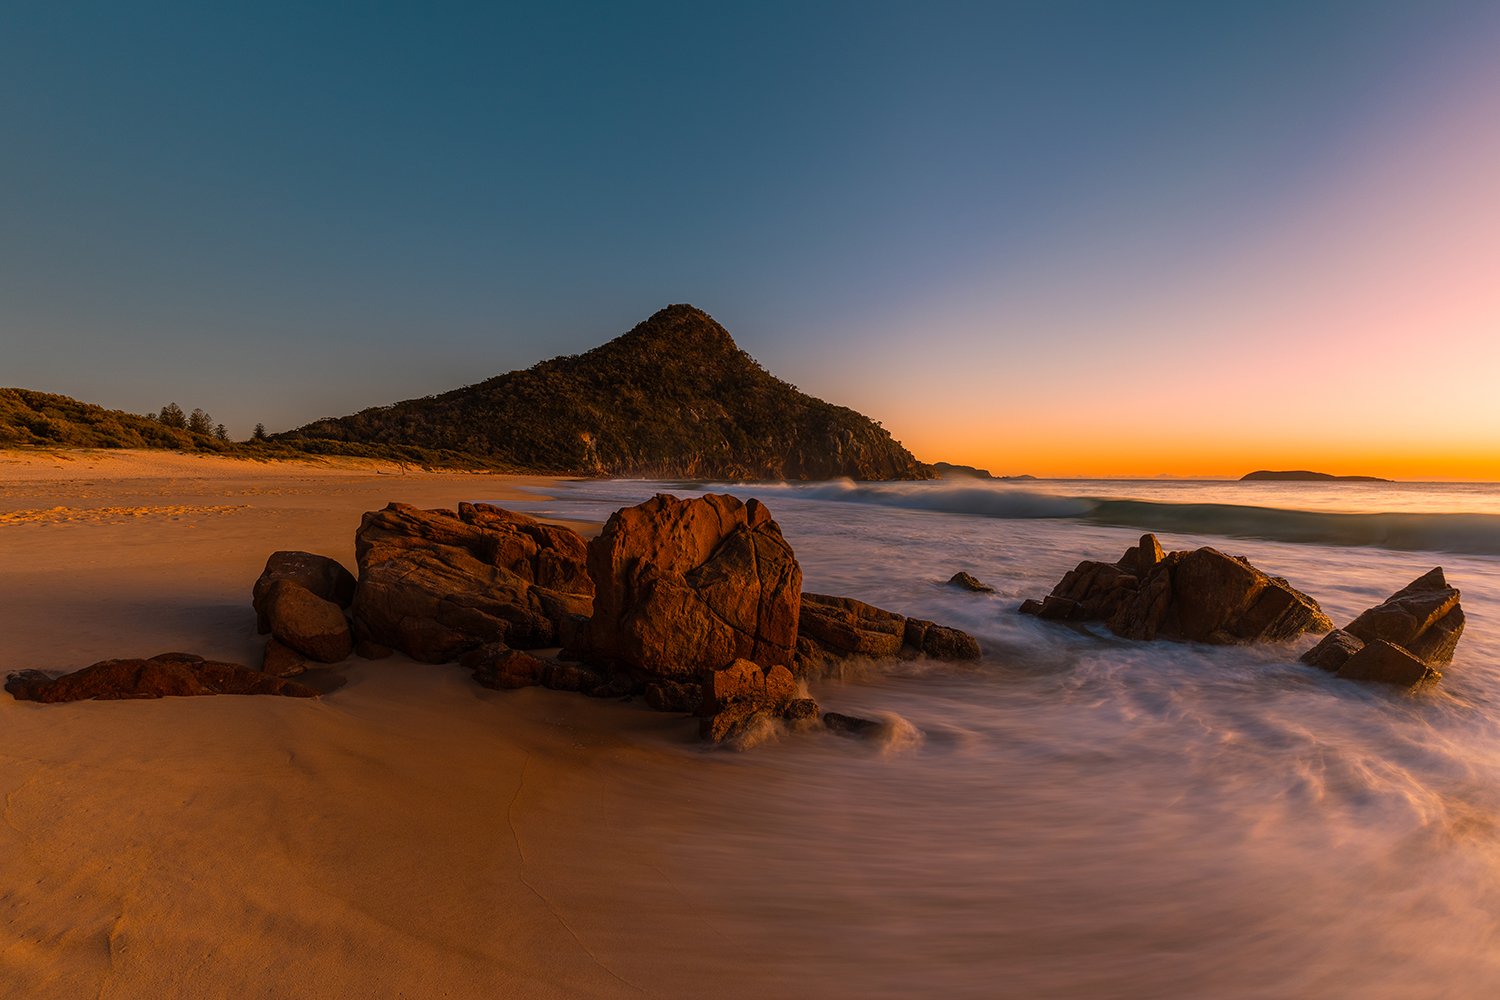
The raw material of every great photograph is light. The golden rule of landscape photography is to take the picture at sunrise or sunset time. Based in Sydney, Australia, the best time for my seascape photography is sunrise as most beaches are on the east coast. If you live on the west coast, the best time will be sunset.
The next question is when exactly at sunrise time is the best time. Is it 1 hour before sunrise? 30 minutes to sunrise? At the exact sunrise time? or after the sun is up? The answer depends on the cloud forecast of the day. There are several websites to check cloud forecast: yr.no, clearoutside and cloudfreenight (Australia and New Zealand only).
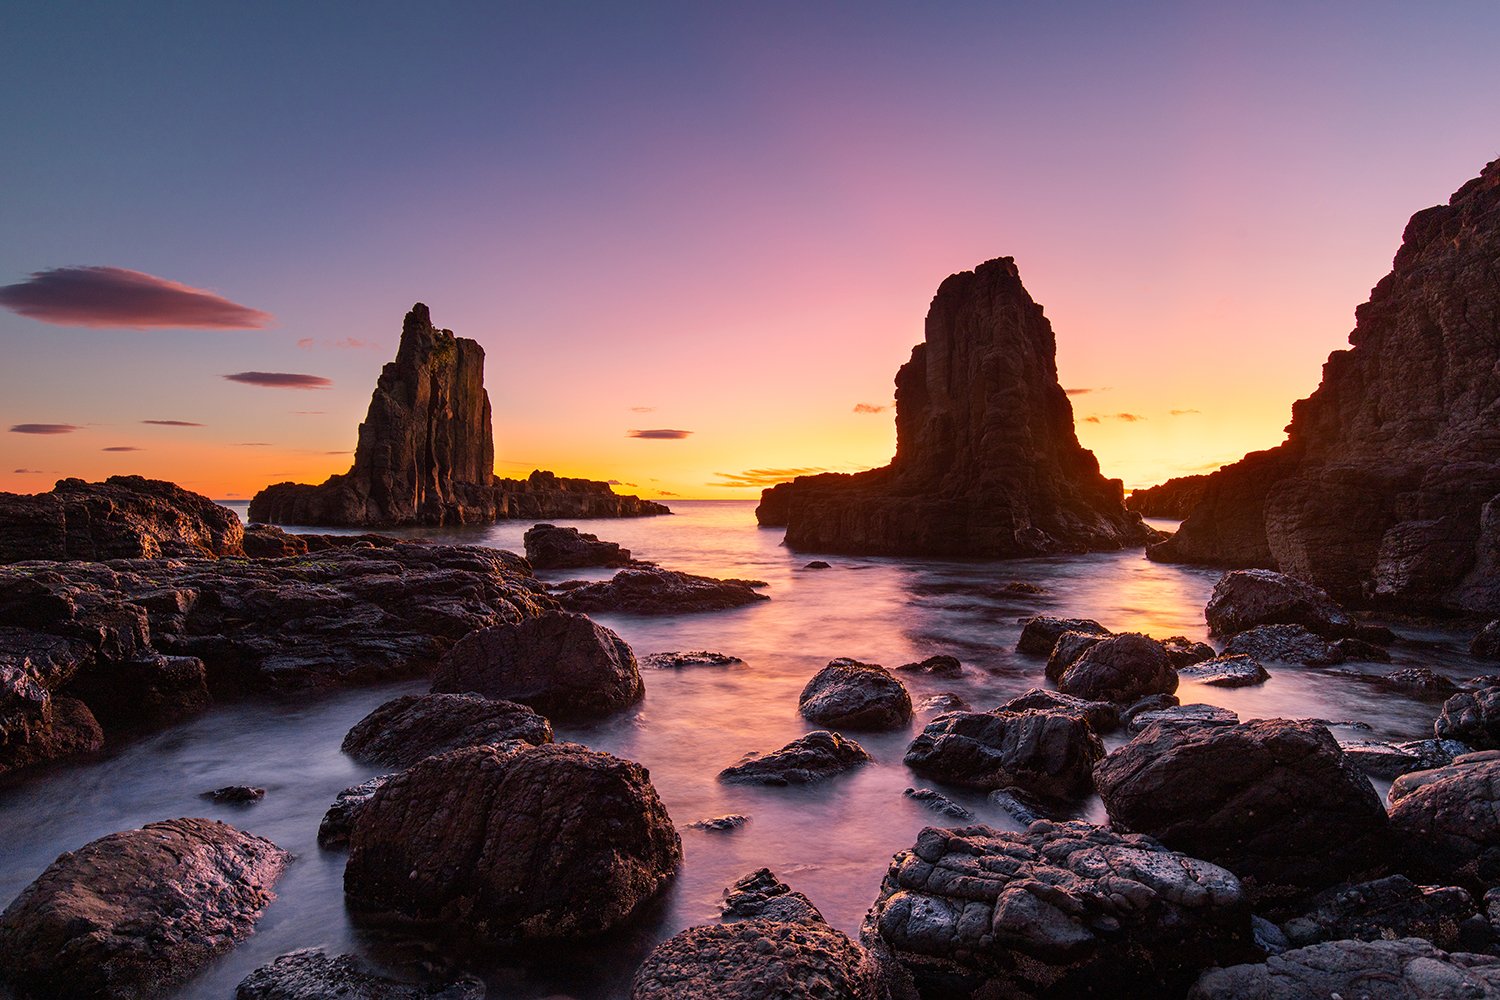
Sunny cloudless sky
When the sky is clear or has a very little cloud, I aim to capture the pre-sunrise glow. This glow gave the warm orange/red gradient to deep blue on the top of the sky. To capture this, I usually go between 1 hour to 45 minutes before sunrise. I try to take 2-3 exposure to expose the foreground, horizon and sky which I will blend in photoshop later. With a cloudless sky, as soon as the sun gets close to the horizon, the light will be harsh. The other option to not get the harsh light, avoid shooting directly into the sun (or where the sunrise will be) as this is the brightest area of the sky.
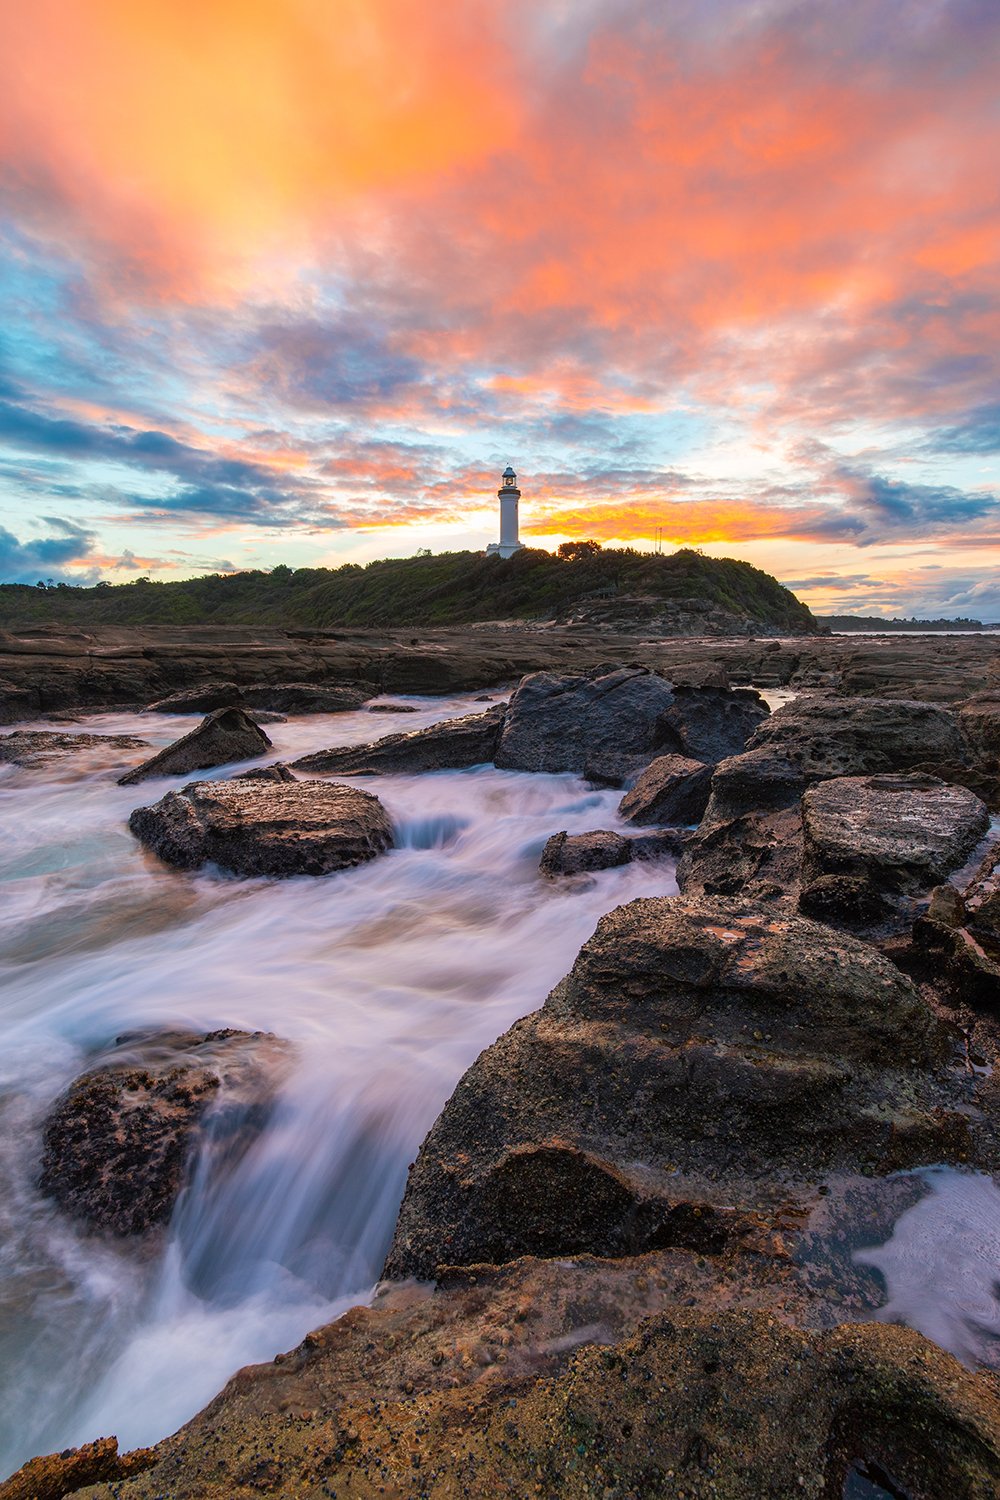
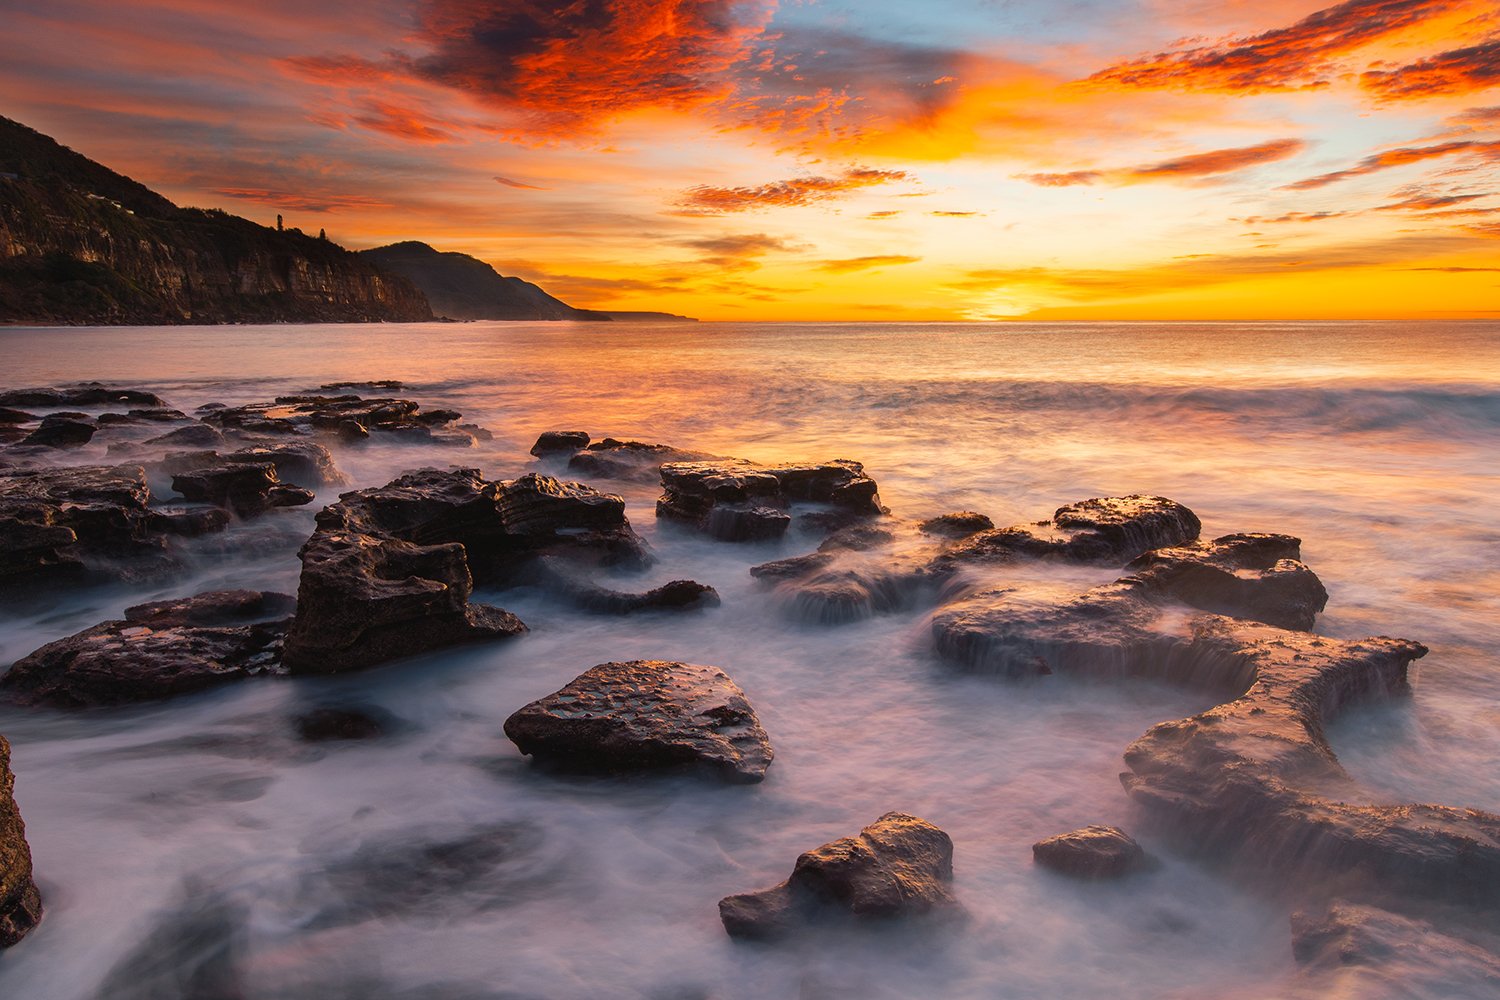
High cloud (colourful sky)
High cloud gives all the colorful clouds that all landscape photographer loves. These colours typically happen before sunrise or after sunset. Most of the time it happens about 30 minutes before sunrise or after sunset. To capture the most colours, I go to the location around 45 minutes before sunrise and be ready to shoot when colours starting to pop up.
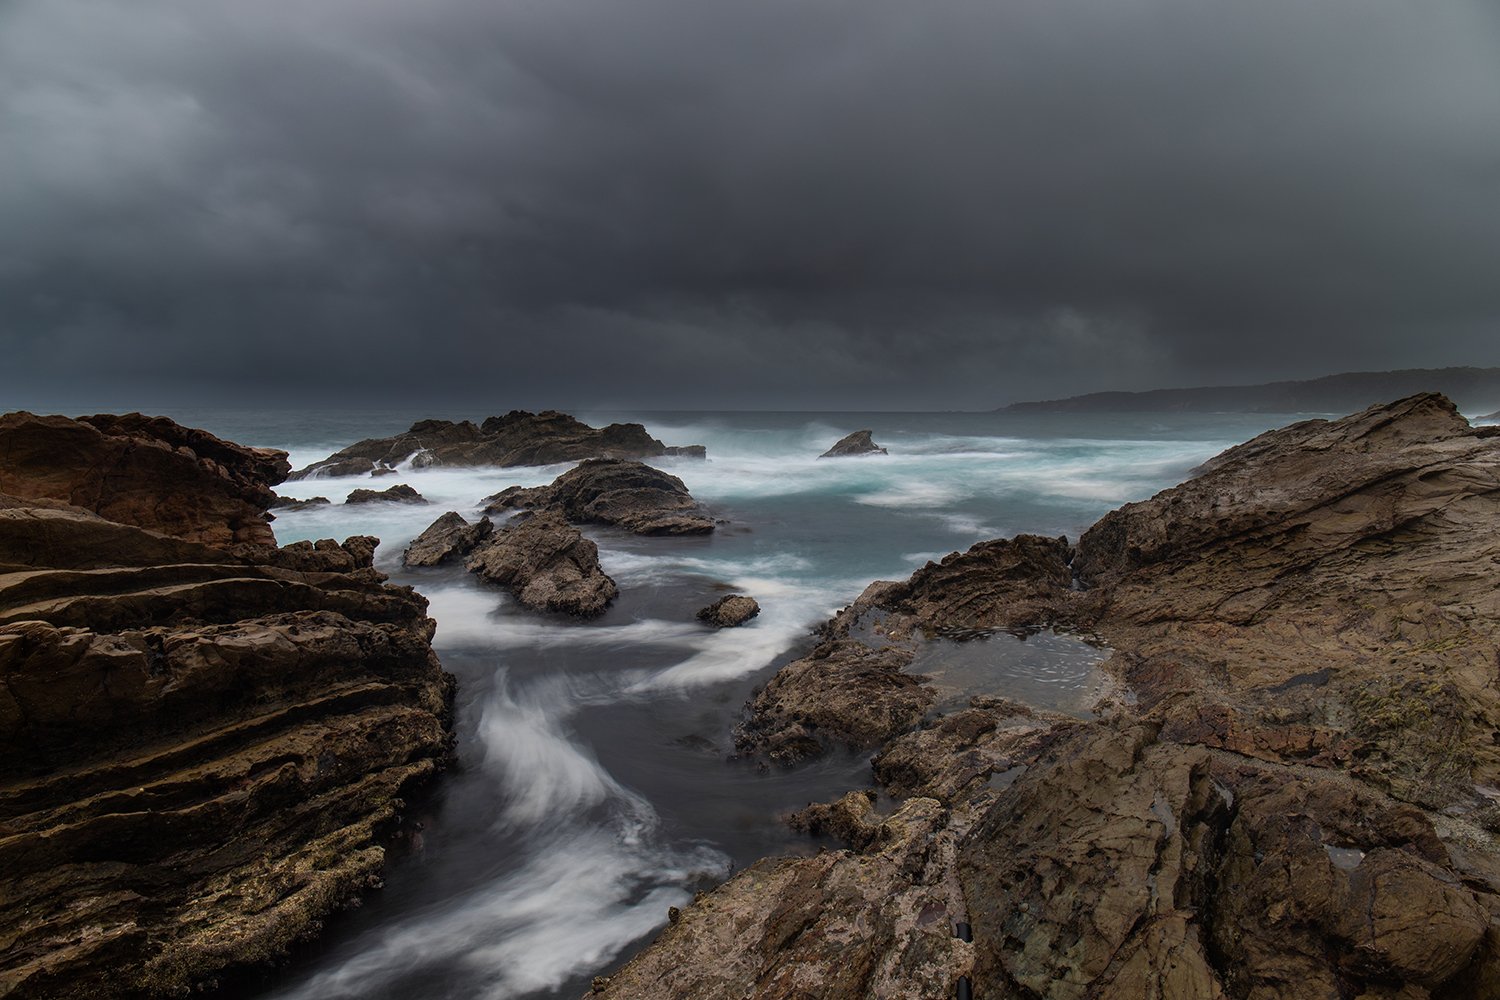
Cloudy and stormy day
Without a doubt, a cloudy and stormy day usually makes me lazy to get out and capture images. However, I captured some of my images in this condition. Sometimes, the dark cloud formation can make the image interesting. It is worth the gamble and go out for it. As thick clouds cut a lot of light intensity from the sun, images on a stormy day are usually taken after sunrise time.
Other gear
We have covered the essential camera-related gear in the previous section. Besides that, I found that camera bag and shoes are also important equipment for seascape photography.
Shoes
Seascape photography involves a lot of rock hopping and is most likely to get wet in the process. Rather than using hiking shoes or sneakers, I recommend using aqua shoes. I use tropic feel, a water-friendly shoes and designed to be worn without socks. Water will still get into your shoes, but the shoes are built with a drain inside. This means that your feet will dry quickly. Also, the sole is made of rubber that is not slippery during the rock hopping process.
Camera bag
One thing that makes seascape different is the constant flow of water around you. This means that we cannot put our bag on the ground. For this reason, I always used a camera bag that I can flip around and open it while it stays on my waist. I am currently using F-stop lotus bag, the perfect size for all my gear.

If you scroll down for the TLDR version...
1. Safety first! Never turn your back on the ocean
2. Check weather, tide and swell for location
3. Scout the location during day time
4. Don’t be afraid to get wet
5. Go and shoot in the best lighting condition (sunrise/sunset)
6. Have fun shooting!